After a long day, there’s nothing more relaxing than coming home to a clean house and soaking in a warm bath.
But if your bathtub is coated in grime and grease, or maybe it hasn’t been cleaned in a while…
Suddenly the warm bath becomes a lot less relaxing.
But cleaning your tub doesn’t have to be a chore.
(It’s actually quite easy).
Follow these 3 simple steps to clean your bathtub, and you’ll be back to enjoying a relaxing soak in no time.
Page Contents:
1. Clean Out Your Belongings
Cleaning becomes a lot easier when nothing’s in your way. That’s why the first step to properly cleaning your tub is to remove all bath supplies that you might have lying around.
These supplies include:
- Shampoo bottles
- Soap & body wash
- Other toiletries
- Bath toys
Notice any items past their expiration date? This is your chance to throw them away and replace them with fresh products.

If you have any extra storage items, like a shower caddy or accessory holder, remove those as well. You can use the extra storage space to hold all your toiletries while you’re cleaning.
2. Pick Your Products
Now that you’ve cleared out all of the items in your tub, you can begin the actual process of cleaning. Ideally, you’ll want to pick products that don’t contain harsh chemicals, such as bleach and ammonia.
These chemicals, if breathed in, can make you sick, especially those who are more vulnerable such as children or those with pre-existing respiratory conditions.
Many cleaning products are available as non-toxic alternatives, letting you get a proper cleaning done without having to worry about toxic chemicals being spread in the air. These products also tend to be cheaper, which is helpful if you want to clean on a budget.
Still not sure if you want to use chemical products?
That’s perfectly OK!
You can make your own DIY cleaning solution with a mix of baking soda and vinegar. When mixed together, these two ingredients create a mildly acidic product that dissolves dirt, grease, and other minerals. If you use this DIY method, remember to dilute the mixture with water!
You’ll need more than just cleaning products to get the cleaning job done like a professional. You also need something to help you spread those products around and get all the grime off of your tub. While a regular sponge will do the trick just fine, it’s recommended that you use specialized brushes that can make it easier to clean certain parts of the tub.
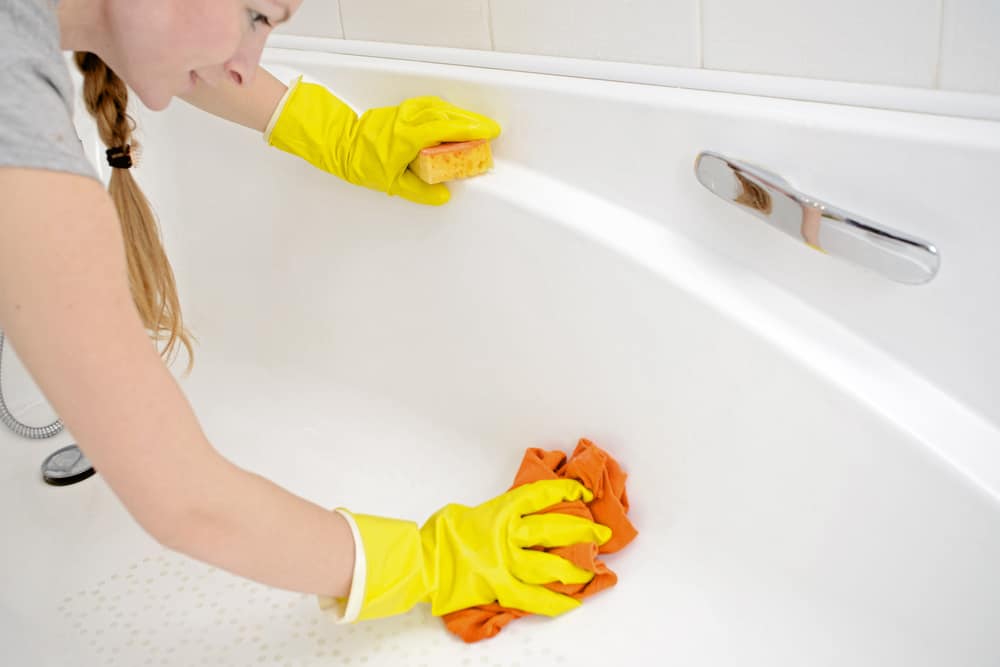
3. Start Scrubbing!
Have everything you need to clean? Now it’s time to get started!
First, spray your tub with your cleaning product of choice, then let it soak for at least 10 minutes. This allows the product’s ingredients to eat away at dirt and grease particles, which will make it easier for you to clean everything off.
Once you’ve applied your cleaning product of choice, take your sponge or brush and begin cleaning.
A good cleaning tip is to avoid products that are “harder,” so to speak. Rough sponges and coarse brushes may be useful in scraping off gunk and grease, but you can also scrape off your bathtub’s finish by mistake. You can also wear gloves if you see an area that needs to be cleaned, but you don’t want to risk scratching with a sponge or brush.

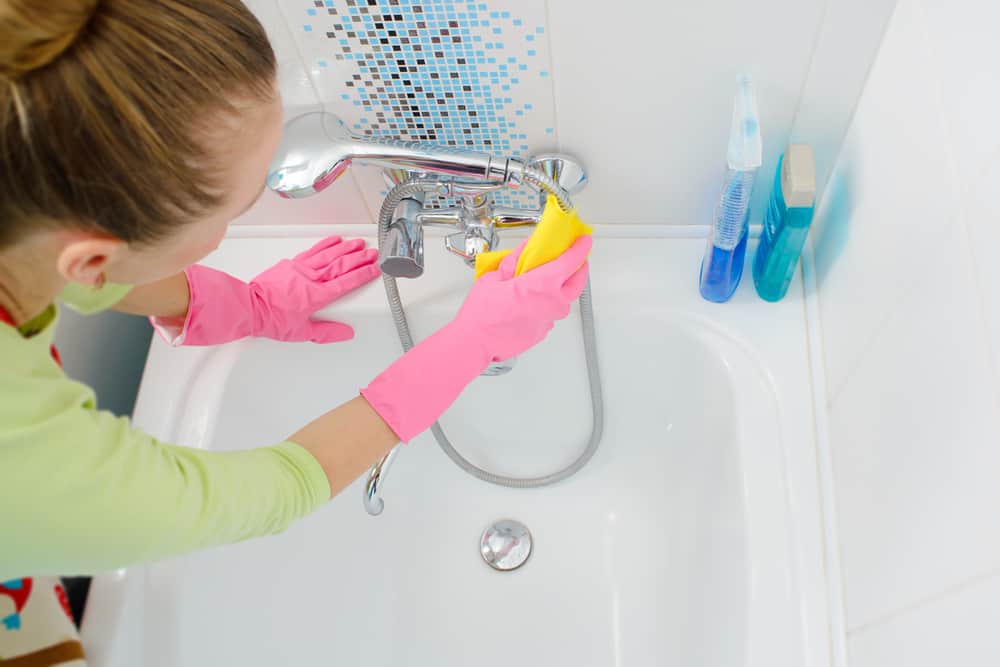
Don’t just focus on the walls of the tub! Faucets are especially prone to be stained with hard water deposits, so make sure you apply some cleaner to those as well.
Once you’re satisfied with your work, rinse the bathtub with warm water.
This will clean off any residue left behind by your cleaning products: if left alone, the residue will harden and create a new layer of grime that you’ll have to clean. If you spot any areas that you missed or any stains that are especially hard to remove, keep repeating the cleaning process until you’re 100% sure you got everything.
The last part of the cleaning process is drying.
You can use a lint-free towel, but an old T-shirt will also work. Drying the tub this way picks up any remaining soap scum, hard water deposits, and grime that may collect in and around the area.
It’s also a great way to polish up your faucets and shower handles!
That’s all there is to it. Cleaning might seem like something that you can put off for later, but it’s actually very important.
The longer you wait, the messier things get, and the messier your house is, the harder it’ll be when you do decide it’s time for a cleaning. But by breaking it down into a step-by-step process like this, cleaning can become much more manageable and a lot faster.


Written By Maurine Emerson
Beyond her exceptional cleaning abilities, Maureen possesses excellent writing skills, making an avid contributor to the cleaning industry online. She treats every client with respect, kindness, and professionalism, ensuring that their satisfaction is her top priority. In her free time, Maureen enjoys staying active and spending time outdoors. She believes that maintaining a clean and organized space contributes to a balanced and harmonious lifestyle.