Here’s How You Build a Garden Box
The satisfaction of bringing a beautiful garden up is a source of pride for people with a green thumb. Even if you have no gardening experience, the idea of a garden box can help you achieve better results.
No, it can help you achieve beautiful results!
Keeping your plants protected and maintained is every gardener’s top priority. The battle against weeds, pests, and poor soil never ends. However, you can make it easier by using a garden box.
(Also known as a garden bed).
These raised garden beds can help keep bugs away, make your garden look prettier in general, and make sure that your precious flowers, fruits, or veggies, are completely protected from pests like squirrels, deer, and foxes.
A garden box is essentially a bed of planting soil surrounded by 4 walls.
Imagine if you built a house that didn’t have a front wall. Everyone would see into your home and definitely come in unannounced, steal things, ruin things…you get the idea.
A garden without a garden box is the same thing.
Garden boxes have a number of benefits, including keeping out pests such as snails and slugs, protecting your plants from weeds, and providing fresh, aerated soil for your garden to flourish in. Don’t leave your door unlocked or your front wall off!
Get those plants in a garden box now.
So how do you build a garden box? First, you’ll want to decide on which material to use for the walls.
Here are some popular options:
- Wood: Simple, cheap, and has a rustic charm.
- Stone: Heavy, long-lasting, and can add a nice aesthetic touch.
- Brick or cinder: Sturdy, classic, and durable.
Next, you’ll choose between buying a premade kit or building from scratch:
Option 1: Purchasing a kit can help to offset the difficulty in building a garden box. Generally, kits will include 4 posts with interconnecting grooves. A rubber hammer is usually all that’s needed to build these types of kits! If you are interested in saving some money, customizing your garden box to exact specifications, or just enjoy DIY projects, building one yourself is also a great option.
Option 2: To build a simple garden bed, start by measuring the dimensions of your desired gardening space. Using 2×6 boards of wood, cut your longer sides to the desired length, and then the shorter sides to your specifications minus 3 inches.
| Pro tip: Despite their name, 2×6 boards are actually 1.5 inches thick, so two of them combine to fill 3 inches of the short side length. |
As for height, let’s say you want an 18-inch tall garden bed. You would then use 3 layers stacked on top of each other, for a total of 12 slats (4 in each layer). If you want a shorter garden bed that’s only 6 inches, you’d use only one layer, and so on.
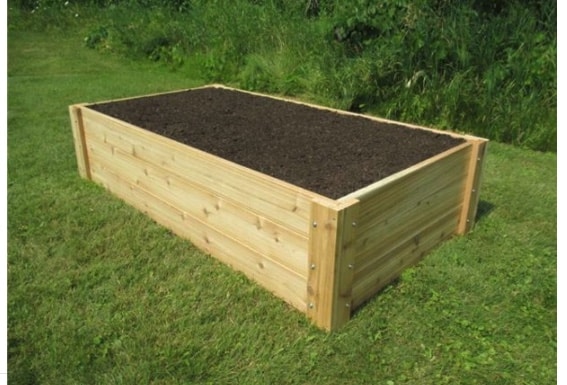
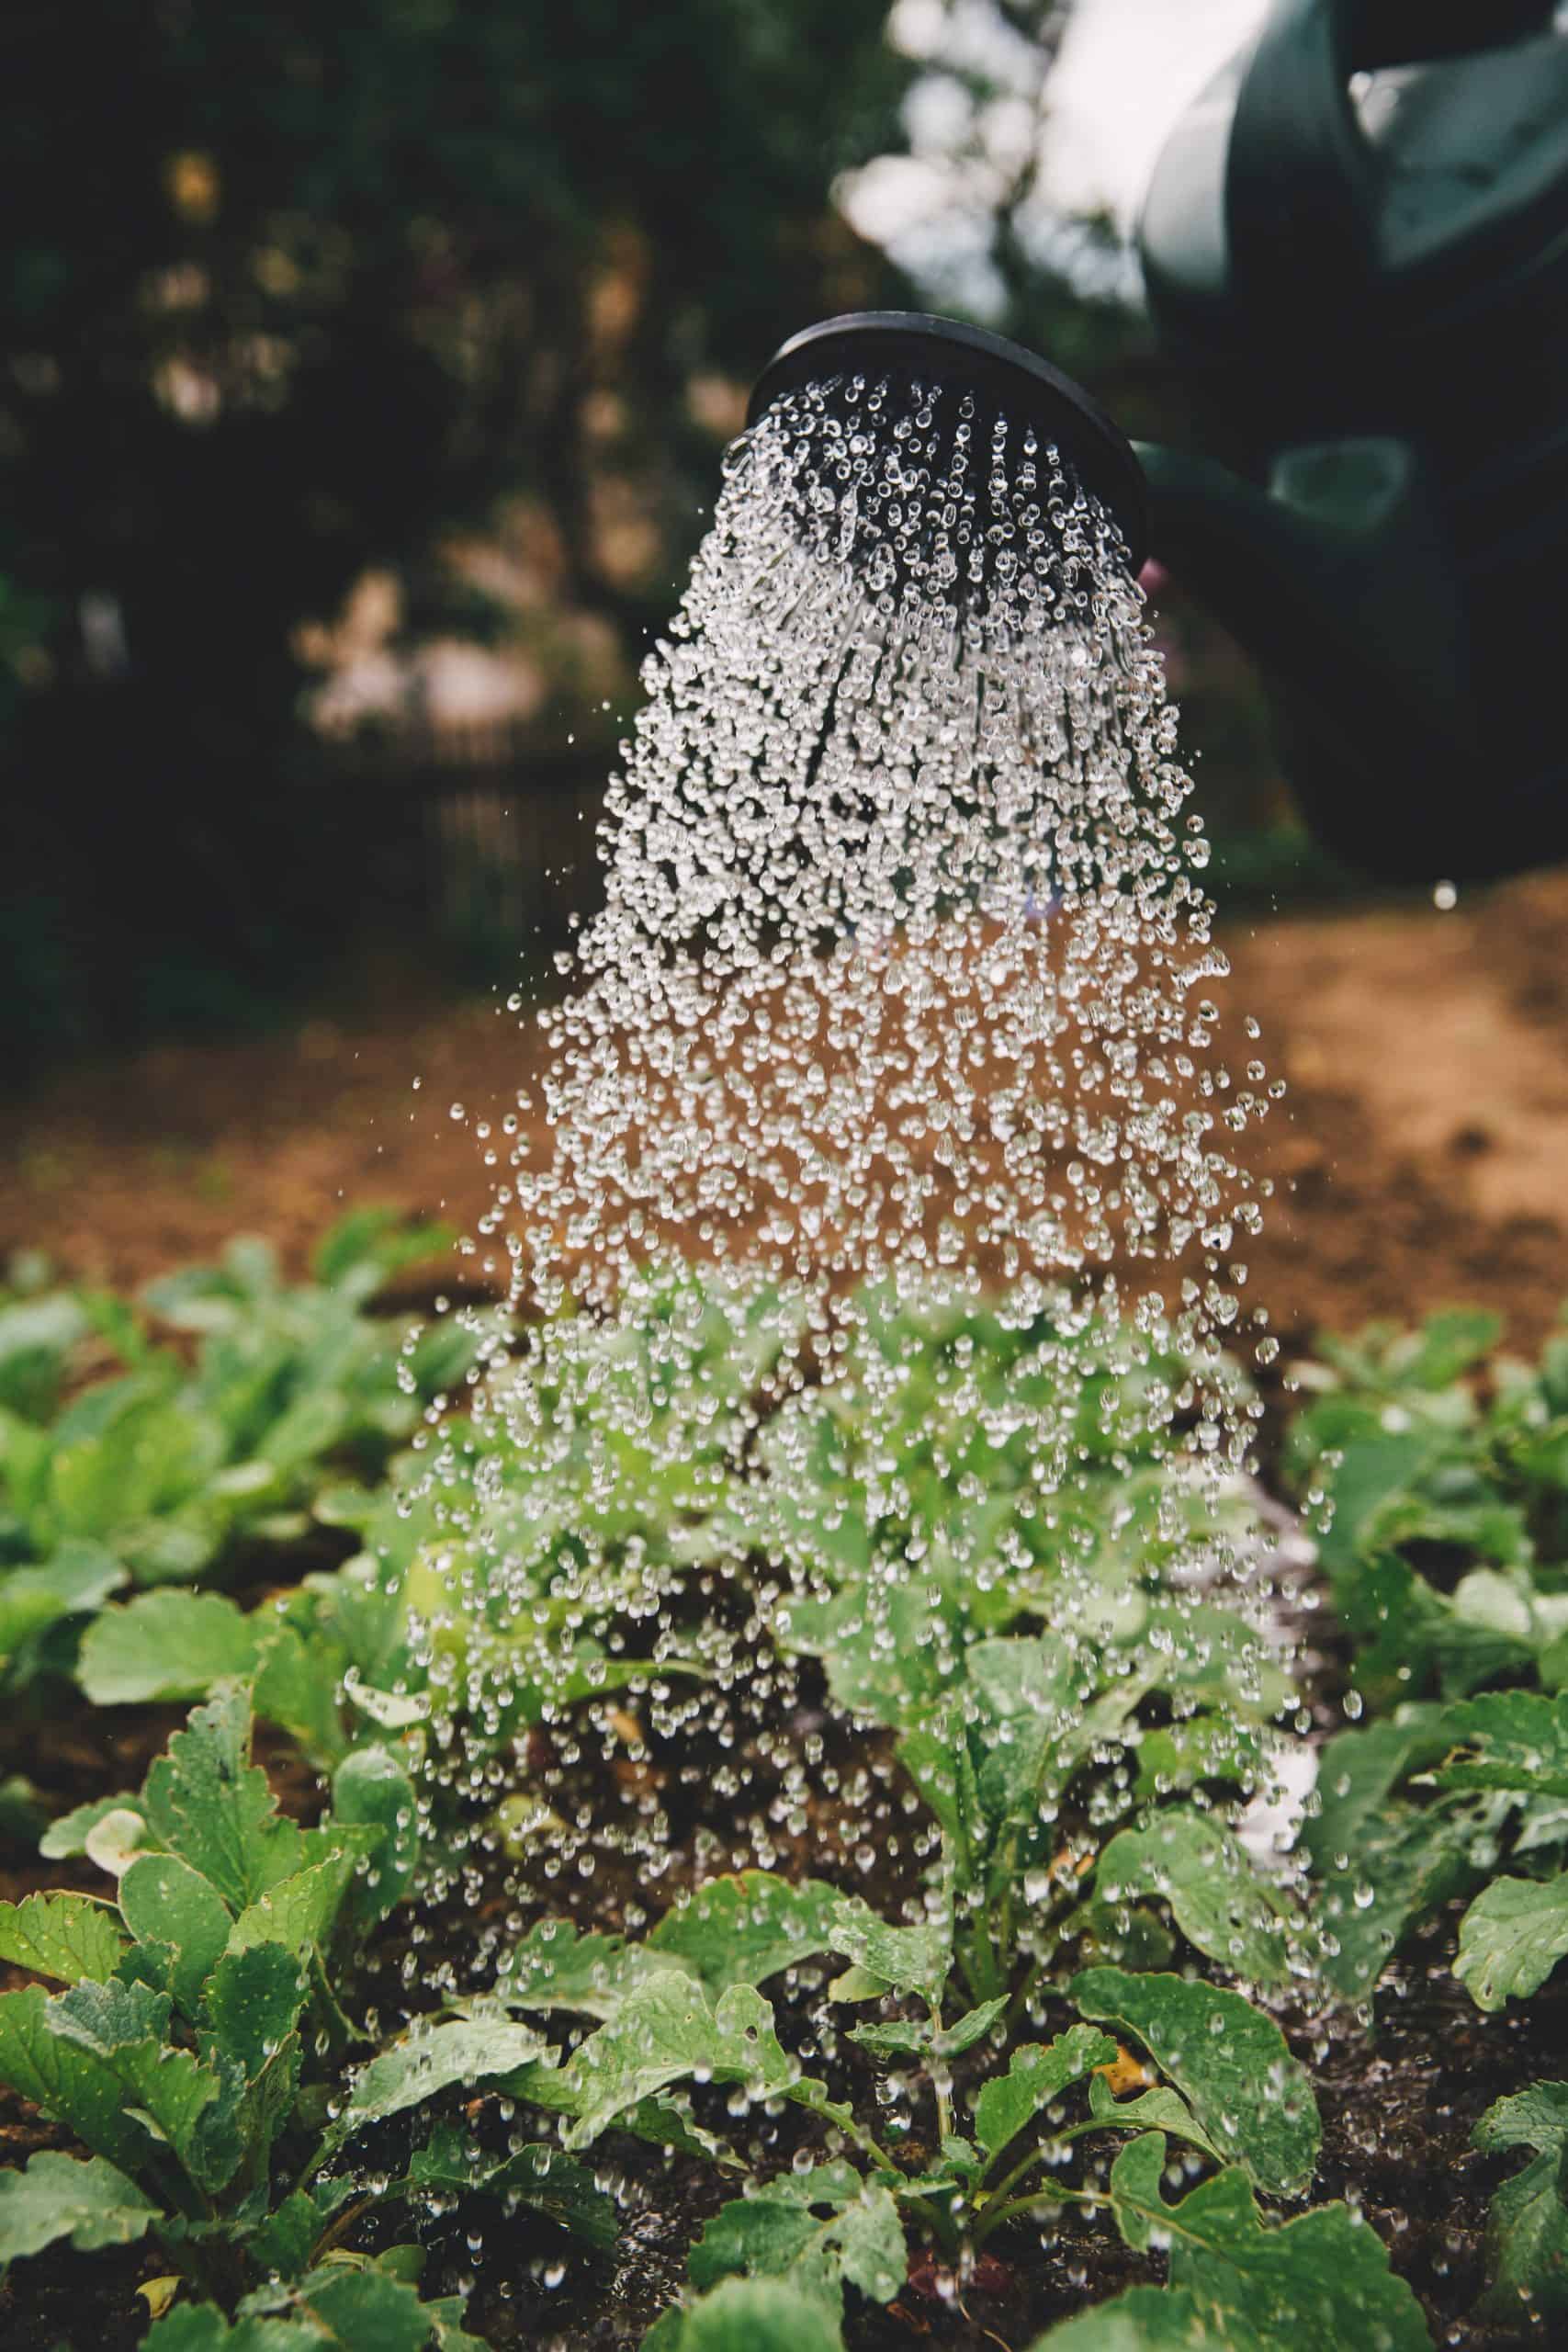
Before installing your garden box, you should turn the soil over. Fresh soil will make it so that your plants are being transferred to a happy home full of life-giving nutrients.
The soil should be mildly damp as well, but don’t overdo it by creating a watery soil mess. Plants will drown in it and defeat the purpose of your garden box entirely.
Then, use wood screws to affix the sides together, using a level to make sure each side is even.
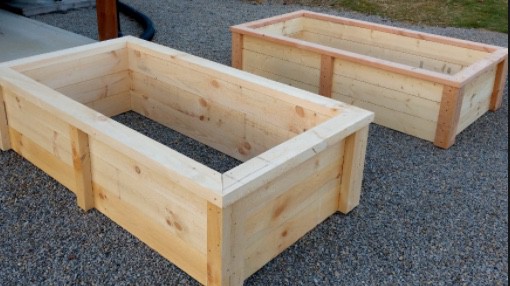
If your garden bed has multiple horizontal layers of 2×6 slats, attach a post on the inside corners to hold each layer together, screwing into the post to secure each section.
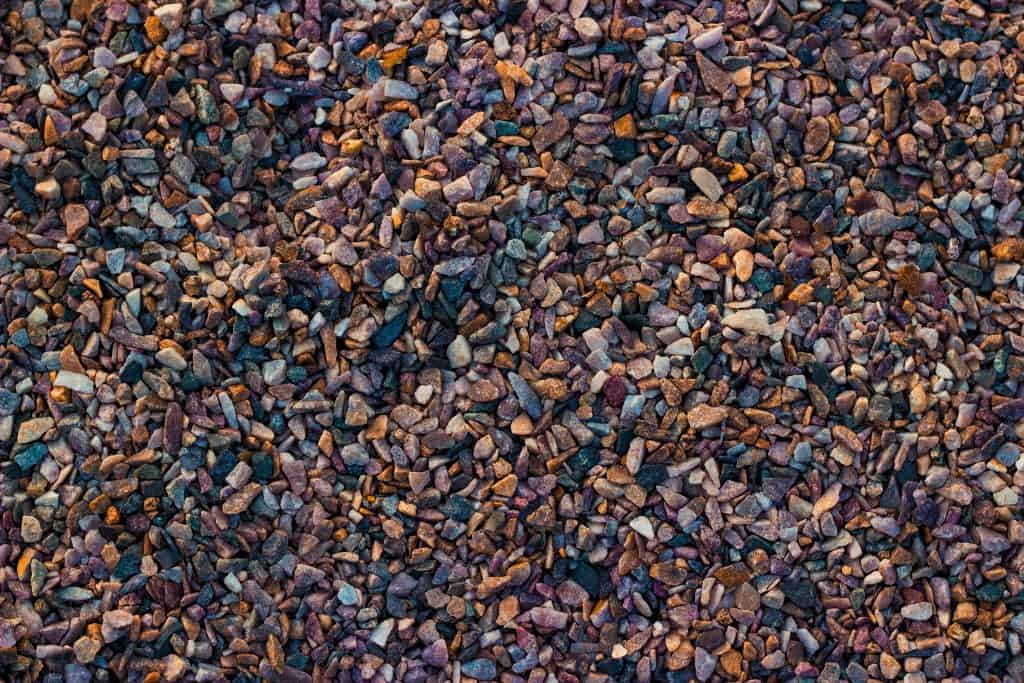
Should I Put Rocks in the Bottom of my Raised Garden Bed?
The short answer… Absolutely!
Rocks provide an excellent drainage system for the bottom of your garden bed. There are plenty of options to choose from, but gardeners recommend using crushed rock or pea gravel.
If you’re adding rocks to your garden bed, cover the bottom of your garden bed with about 2-3 inches of rock before adding topsoil.
Use a rake to make the rock layer flat, you can also use a tamper (but again, don’t overdo it by pushing the soil into the box too hard. You could end up breaking the bed you create and that will just be frustrating.
Add some soil and mulch, and your garden bed is ready for planting!
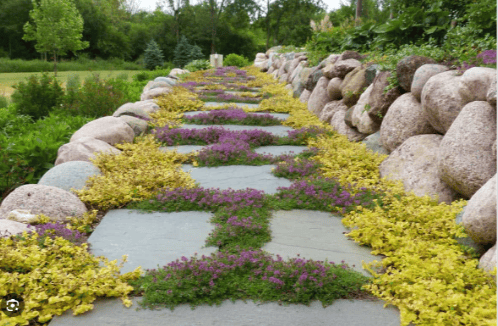
P.S. — rocks make for a really nice zen-like feel in your garden. Think about relaxing places like spas and beauty salons. You’re now so much closer to your own garden oasis!
Should I Line My Raised Garden Bed with Plastic?
Lining a raised garden bed is recommended by most gardeners. You always see it at greenhouses, sticking out of the sides of the wood slats. Don’t know what plastic does for your gardening bed? Just wait for a second and keep reading.
Plastic tends to be extremely waterproof, which can lead to poor drainage and root rot when used as a lining if you’re not careful, so use porous plastic. Ones made from polypropylene help with plant health, don’t have as many risks as pure plastic, and help prevent things like root rot if you place it correctly.
Many gardeners opt to only line the sides of their garden box with plastic, and the bottom with another material.
Do NOT put plastic on the bottom of your garden bed.
Instead of plastic, which can potentially contain toxins, consider using a porous gardening material such as hardware fabric or landscape fabric. These can work wonders in protecting your plants from weeds and pests, while still allowing for proper drainage.
Can You Use Cardboard to Line a Raised Garden Bed?
Cardboard works well as a liner and provides a cheap, effective method for lining garden beds. If you’ll be using cardboard for your garden box, make sure all tape is removed, and ideally use cardboard with minimal printing.
Plants don’t like ink chemicals, and we should respect that!
Don’t use moving boxes with printing on them, the ink chemicals mentioned above will totally ruin your project. Now, is saving a dollar worth that risk? Probably not.
To line your garden bed with cardboard, simply:
- Cover the bottom of your garden bed with flattened cardboard.
- Extend the cardboard around the edges if your bed is on the ground floor, which will prevent weeds from growing too close to the bed walls and make them easier to unroot.
- Apply a couple of layers to increase the longevity of your cardboard lining.
- Replace cardboard as needed, since it will eventually decompose and be soft enough for weeds to punch through.
Why You Should Line a Raised Garden Bed
You may be wondering…
What are the benefits of lining a raised garden bed?
First, this will protect your plants against weeds and pests. Using a material such as landscape fabric can keep out gophers, moles, and other unwanted critters, while still allowing helpful animals like earthworms to do their thing.
In addition to keeping out pests, lining your garden bed will prevent toxins from leaching into the soil. With raised garden beds on stilts, weed and pest protection are less important, however; lining can still provide some benefit.
With garden beds, the soil rises above ground level, exposing it to more rapid changes in temperature. Garden bed lining keeps your soil at a steady temperature, shielding it from extreme fluctuations.
As mentioned above, make sure your lining material is porous enough to allow for water drainage.
This may sound complicated, but follow the instructions in our article and you will be marveling at your newly refreshed garden. With proper construction and care, your garden bed will be home to thriving plants in no time! We wish you the best of luck!


Written By Sarah Thomas
Sarah Thomas is a Master Gardener who edits and writes content for websites and magazines. Over the past two decades, she has been writing for The Doorstep about houseplants and indoor gardening. Since she started writing about plants, Sarah has been collecting rare and tropical plants. The Berkshire Botanical Garden awarded Sarah a certificate in horticulture in 2017.